Learn how to use Figma Prototypes to improve your software and website development and design process. Use our website and software design services for success.
When visualizing your software application, where do you start? How should the software look and feel? That’s where the design phase will help you.
This is where a Figma prototype comes in.
Figma is used to design several apps
Prototyping allows designers, developers, and project stakeholders to visualize and iterate on ideas, bringing the application to life. Before investing significant time and resources into developing a project, prototypes allow us to better understand the application.
Defining the user flows and interactions to articulate how everything works. In this blog post, we'll explore how to create prototypes in Figma for custom software and website design and development.
1. Define your User Flows
Before starting your design, you need to define your user flow. A user flow is the series of steps a user takes to complete a task or achieve a goal within your application. Defining your user flow will help you understand what screens you need to create, the user journey, and how they should be linked together.
2. Create Low Fidelity Wireframes
Once you’ve defined your user flow, you can start creating your screens. Each screen should represent a specific step in your user flow for user testing. In Figma, we begin this visual representation of the screens starting with low fidelity wireframes.
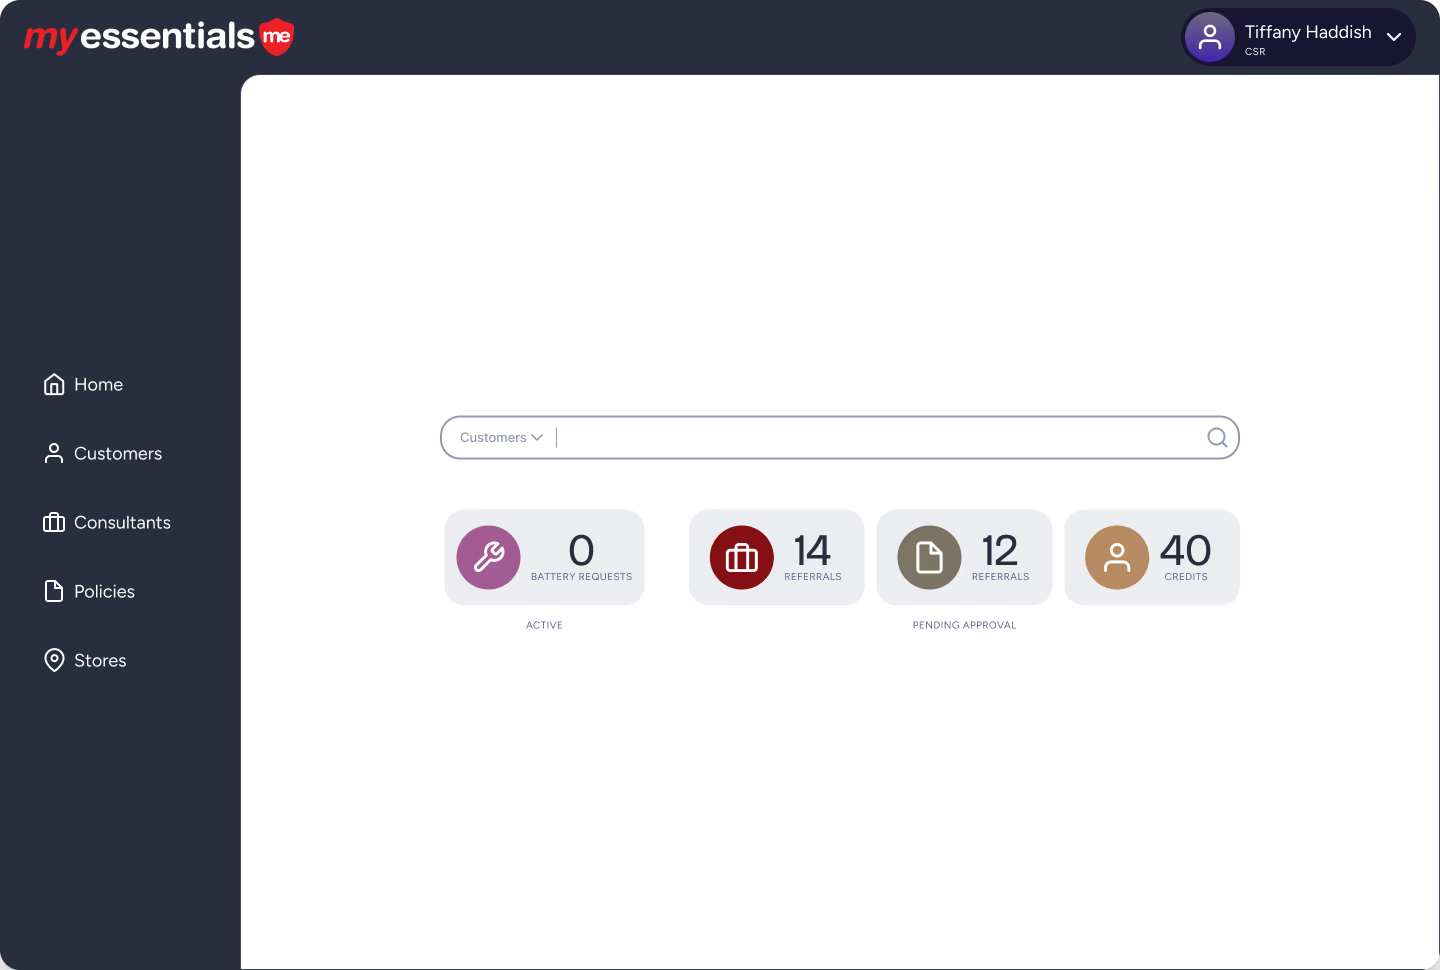
Low Fidelity Wireframes are the blueprints for the design. Wireframes clarify the user interface and its features, helping us decide where things such as Call to Action buttons, images, and other interactive elements will go. This step ensures that the application is heading in the right direction before introducing design elements like color and branding assets.
3. High Fidelity Wireframes
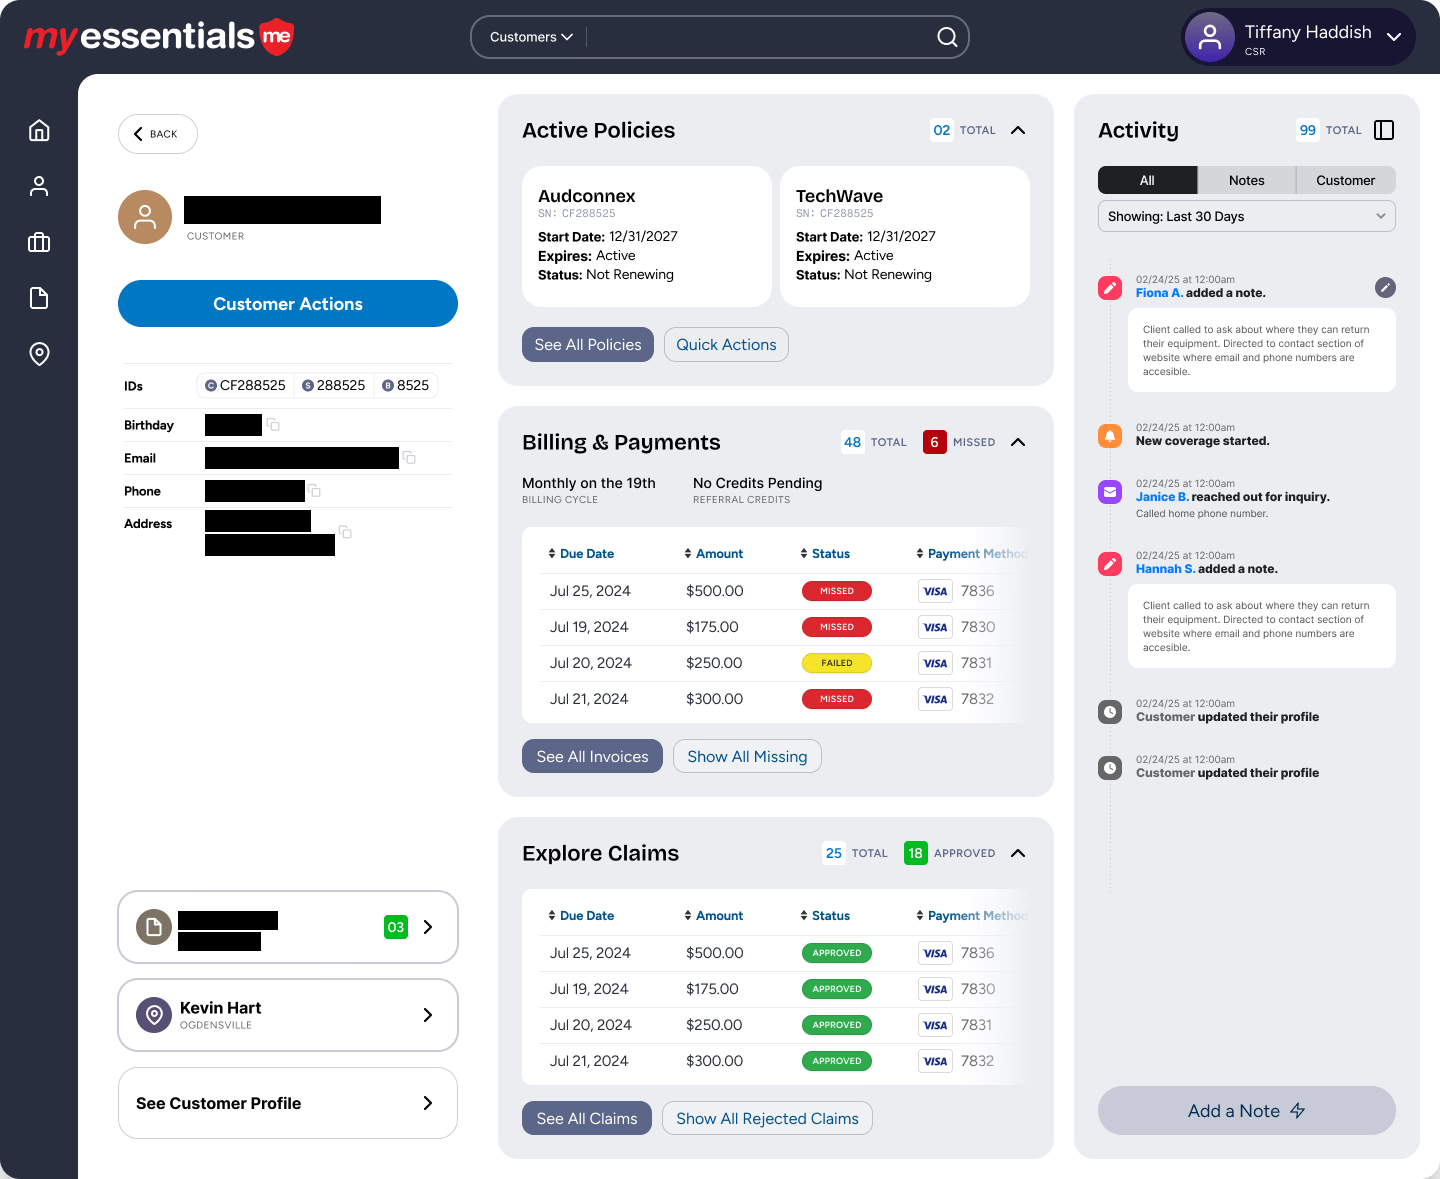
Once the features are all set, and the flow of the prototype is finalized, then elements such as branding, color, and typographic styling are implemented to bring the wireframes to a more polished state.
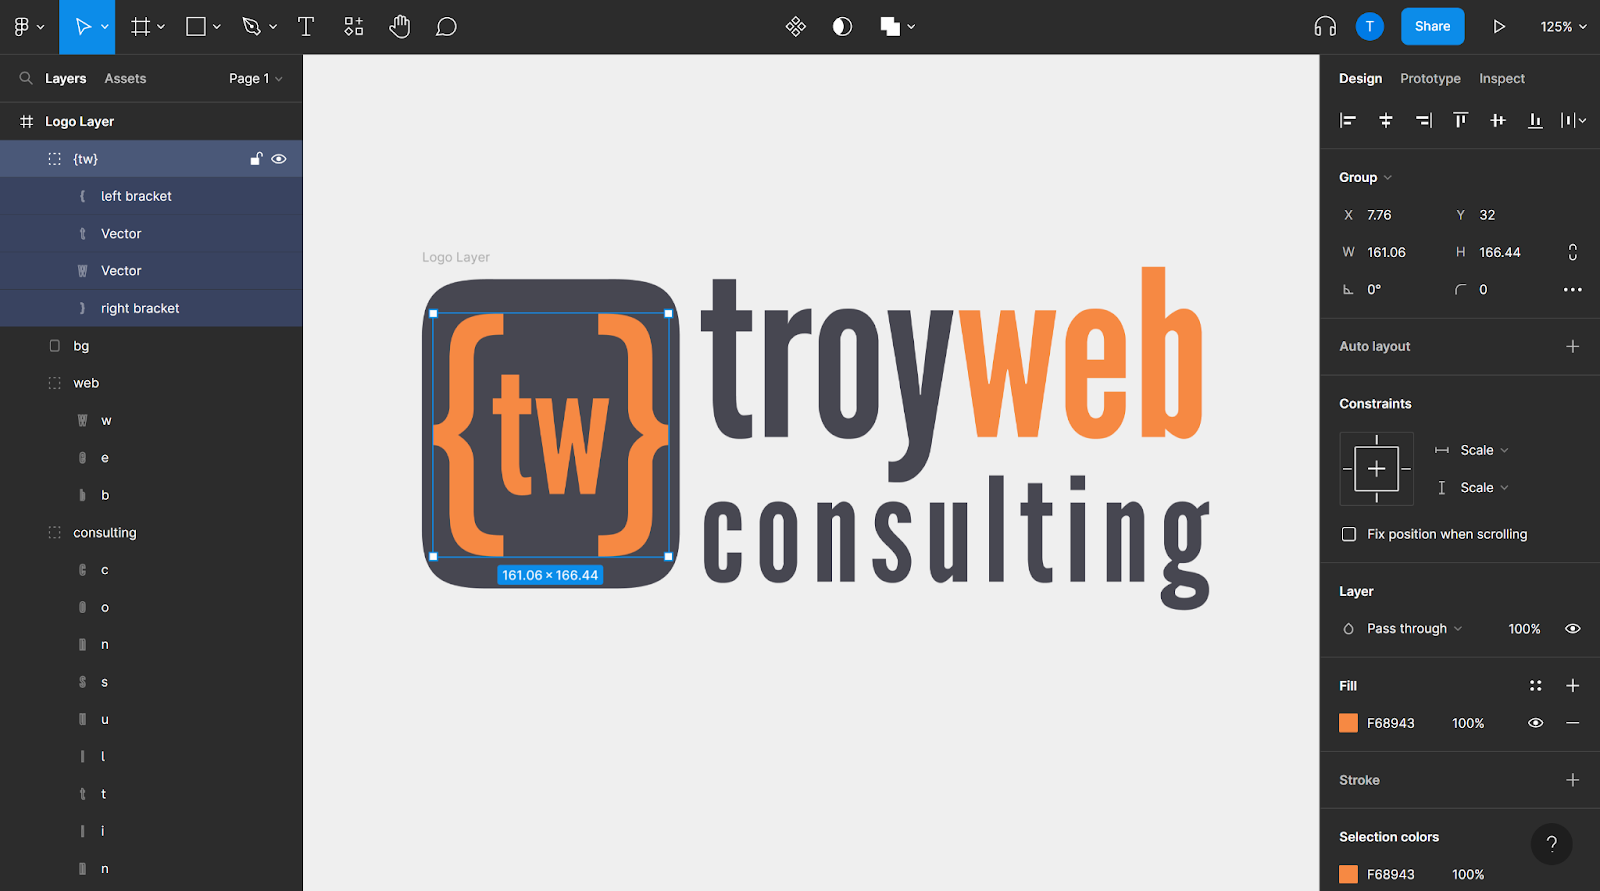
Troy Web Consulting Logo in Figma
4. Collaborate and Get Feedback
Next, we share our wireframes with stakeholders and ask for feedback. Are they able to understand the purpose of the prototype? Do they see any potential issues or areas for improvement?
Stakeholders can leave feedback right on the wireframe screens themselves. The precise commenting system of Figma allows UI/UX designers to leverage your feedback in a more efficient manner to improve your design.
5. Iterate and Prototype
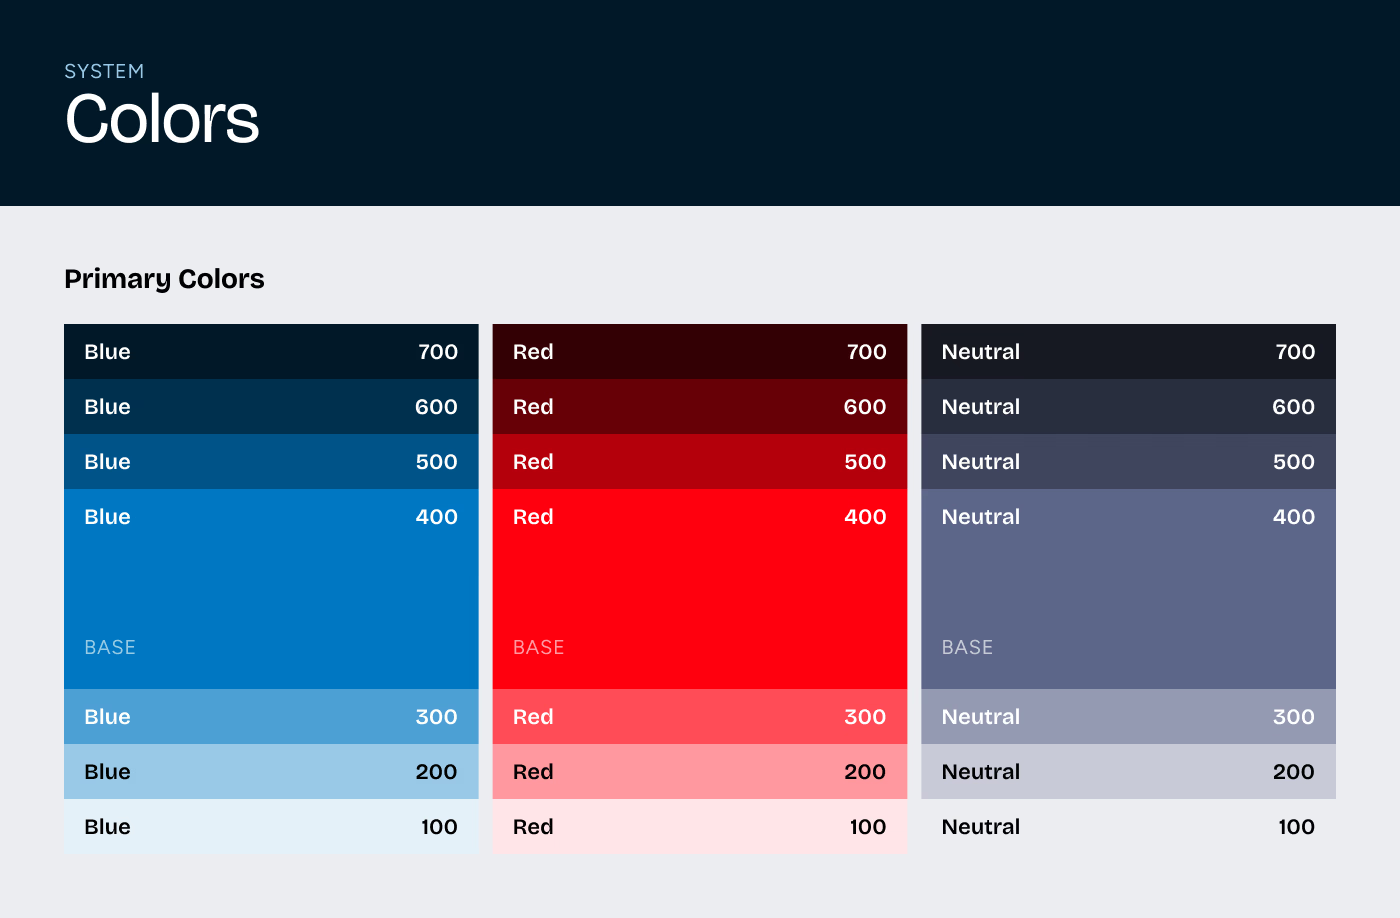
In the prototype design, we take our feedback and apply it to the final design with interactions linking screens, color, fonts, and functionalities. This is the polished version of the prototype and includes a style guide to articulate the color palette of the application or website, the fonts used, and all the visual components of the site.
6. Refine your Figma Prototype
Finally, you can refine your prototype based on feedback from users, stakeholders, designers, and developers. Figma is hosted in the cloud and changes to the design are reflected immediately and can be seen by all your collaborators, users, and development team. You can invite collaborators to add comments directly into the Figma prototype as stakeholders and users review the design, making it easy to iterate on design changes quickly.
7. Start Building!
Share the link to your completed Figma prototype with your development team to start building your application. With this powerful tool, developers can quickly understand the design of the application, how it should function, and all of the interactions to begin developing your project. Developers can export design assets created in Figma as they build your application. Figma also features an Inspection Panel that allows developers to preview the code of design elements, making the transition to the build process seamless.
How much does it cost to build a Figma prototype for your software idea? Contact the Troy Web Design Team- we’d love to talk with you about your idea!
Software Development Project Assessment Guide


