Work
Services
About
Blog
Careers
Contact Us
Blog
Our Expertise.
Your Wisdom.
Insights and resources from over 20 years of combined experience building quality software.
Featured Articles
Featured insights and thoughts.
Resources
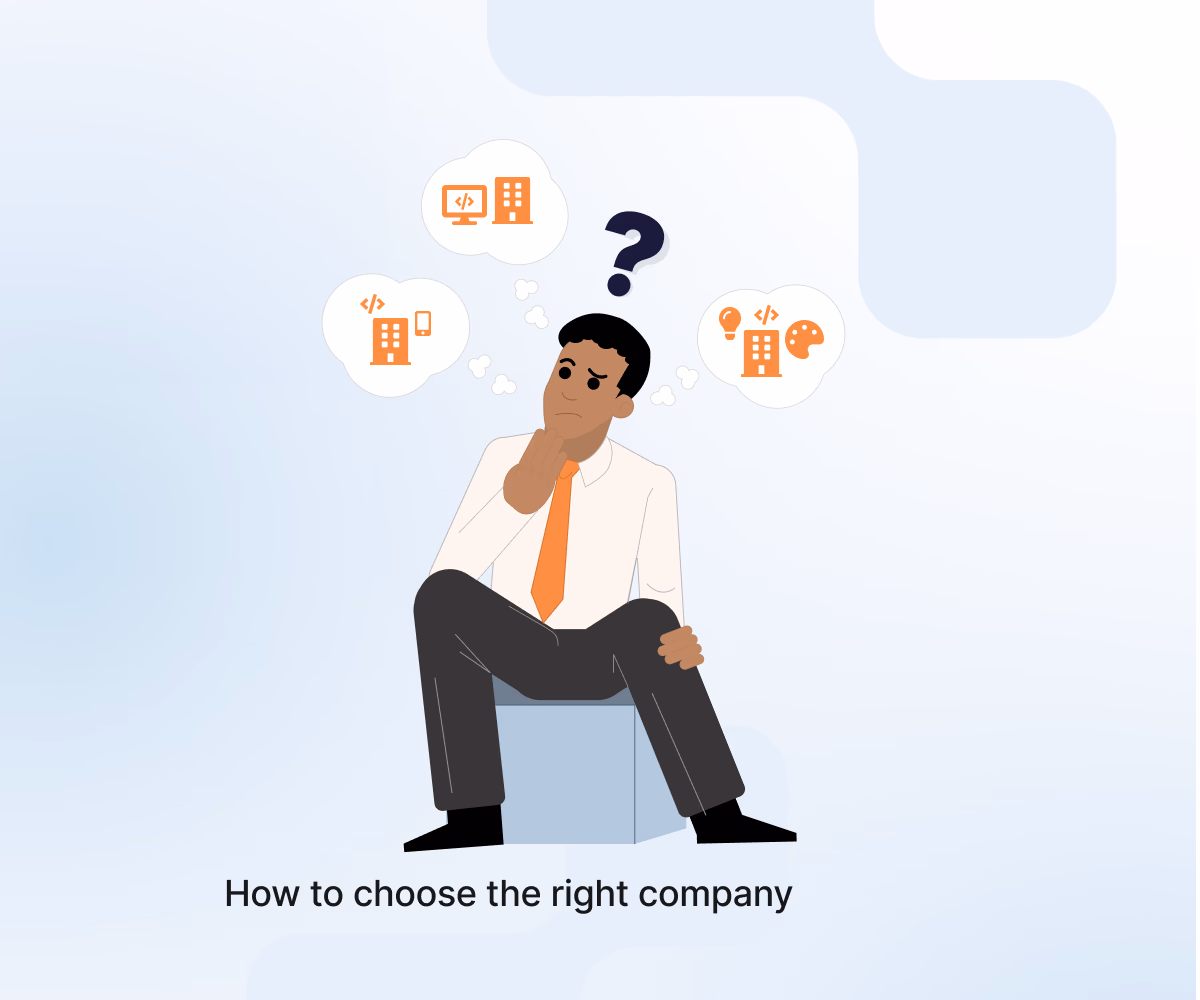
How to Choose a Software Development Company (Buyer’s Guide)
Feb 23, 2026
7 min read
Custom Software
Custom Software vs Off-the-Shelf Software: How to Decide
Feb 17, 2026
7 min read
All Articles
Insights and resources from over 20 years of combined experience building quality software.